

Zapier is a no-code platform that helps businesses and individuals automate work by connecting different applications. But don't let "no-code" fool you. There is a learning curve associated with Zapier. This post explains the basics of Zapier and how it works with Confido Legal. If you want to go one level deeper and see some examples of legal-specific Zaps as well as learn more about the "why" of Zapier, check out our recent longer-form post on automating legal payments with Zapier.
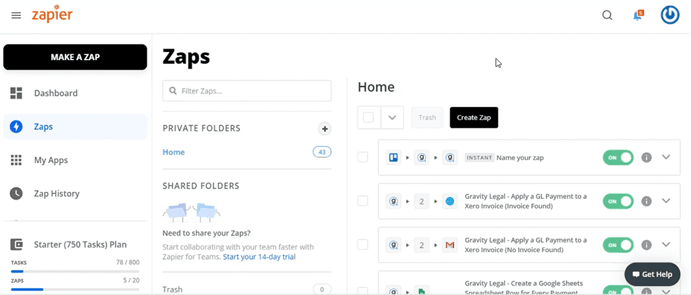
Triggers and Actions
Zapier is designed around the concept of Triggers and Actions. Use Zapier to have an Action occur when the trigger criteria are met. Each "Zap" requires a Trigger and at least one Action. You can also set up multi-step Zaps in which multiple Actions take place after the Trigger criteria is met.
Let's take a look at some examples:
-
Trigger: Received an email in Gmail > Action: Create a spreadsheet row in Excel Online
-
Trigger: New appointment booked in Acuity > Action: Send a Confido Legal payment request by email
-
Trigger: A payment is made in Confido Legal > Action: Add a card in Trello
For more examples of Zaps using Confido Legal, visit the Zapier integration home.
Once you start a Zap, Zapier will prompt you to select a Trigger application and an Action application.
Creating the Zap
Once you have selected your Trigger and Action applications, Zapier will walk you through connecting your accounts in both applications and defining the specifics of the Zap.
Each application will have different Triggers and Actions, but in general, the first step is selecting the broad, high-level Action or Trigger. Next, additional fields will populate to further define the Action or Trigger.
For example, let's say you want to Trigger your Action when a new row is filled in a Google Sheet. You will first select your Google account, then the spreadsheet, and finally the worksheet. Finally, you will be prompted to link the data in the worksheet columns.
Testing the Zap
After you have successfully set up the Trigger and Action, you will be prompted to test the Zap. At this point, Zapier will look for past events that would have triggered the Action. It will then populate the Trigger criteria and initiate the Action based on the Trigger criteria. Carefully review the generated data to ensure you have properly linked your Trigger and Action. You should also review the Action application to see what actually happened.
Oftentimes, the first iteration doesn't work quite right, so don't get discouraged. Keep testing. Once you are satisfied with your Zap, turn it on and let it run!
Want to walk through creating a Zap with Confido Legal? Watch as we use Confido to send a Confido Legal payment request after a new consult is booked in Acuity Scheduling.
.png)